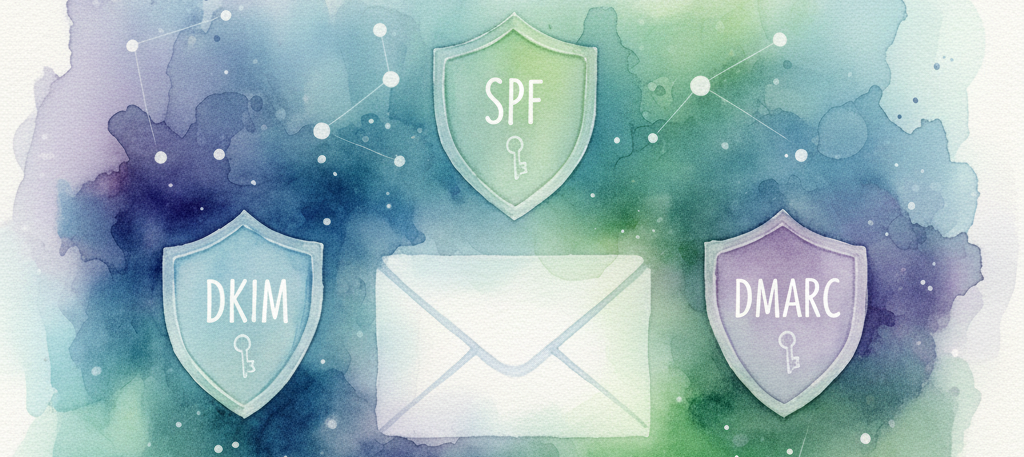
Email Authentication Explained: SPF, DKIM, and DMARC for Developers

You've built your email integration, everything works in development, and then you push to production. A week later, someone mentions that half your emails are landing in spam. Sound familiar?
The culprit is almost always email authentication - or rather, the lack of it. SPF, DKIM, and DMARC are the three protocols that tell receiving servers "yes, this email actually came from who it claims to be from." Get them wrong, and your emails end up in the spam folder. Or they get rejected entirely.
Let's break down what each does and how to set them up properly.
SPF: Who's Allowed to Send for Your Domain
Sender Policy Framework (SPF) is basically an allowlist. You publish a DNS record that says "these IP addresses are authorized to send email for my domain." When a receiving server gets an email from your domain, it checks that list.
Here's what an SPF record looks like:
v=spf1 ip4:203.0.113.0/24 include:_spf.google.com include:sendgrid.net ~allBreaking this down:
v=spf1- This is an SPF record (always starts with this)ip4:203.0.113.0/24- Allow this IP range to sendinclude:_spf.google.com- Also allow whatever Google Workspace allowsinclude:sendgrid.net- And SendGrid too~all- Softfail everything else
That last part is important. ~all means "if the IP isn't listed, mark it as suspicious but don't reject." Once you're confident your SPF record is complete, you can switch to -all (hard fail), which tells receivers to reject unauthorized senders outright.
The 10 Lookup Trap
Here's something that catches people off guard: SPF has a 10 DNS lookup limit. Every include: counts as a lookup. And if that included record has its own includes? Those count too.
v=spf1 include:_spf.google.com include:sendgrid.net include:mailchimp.com include:amazonses.com include:zendesk.com ~allThis might look fine, but you could easily be over 10 lookups once you count the nested includes. The result? SPF fails with a "permerror" and your emails look unauthenticated.
The fix is to "flatten" your SPF record - replace the includes with the actual IP addresses. There are services that do this automatically, or you can do it manually if you're feeling adventurous.
DKIM: Proving the Email Wasn't Tampered With
DomainKeys Identified Mail (DKIM) adds a cryptographic signature to your emails. Your mail server signs each outgoing email with a private key, and the receiving server verifies that signature using a public key you've published in DNS.
If the signature verifies, it proves two things:
- The email came from someone with access to your private key
- The content hasn't been modified since it was signed
The public key lives in DNS at a specific location:
default._domainkey.example.com TXT "v=DKIM1; k=rsa; p=MIGfMA0GCSqGSIb3DQEBA..."That "default" part is called the selector. You can have multiple selectors for different services - Google might use "google", SendGrid uses something like "s1" - each with its own key pair.
Common DKIM Problems
Selector mismatch. Your server signs with selector "default" but you published the key at "mail._domainkey". Verification fails because the receiving server can't find the key.
Key rotation gone wrong. You generate new keys and update your mail server, but forget to publish the new public key in DNS first. For the next few hours (or days, depending on TTL), all your emails fail DKIM.
Content modification. Mailing lists are notorious for this. They append footers, modify headers, or rewrite links - any of which breaks the DKIM signature. Not much you can do about this one except be aware it happens.
The doubled domain name. This one's a classic. Your DNS provider's web interface asks for a "subdomain" or "host" field, and you enter the full record name: default._domainkey.example.com. But the form automatically appends your domain, so you end up with:
default._domainkey.example.com.example.comObviously, no receiving server will find your DKIM key there. The fix: in the subdomain field, enter just default._domainkey (without your domain). The DNS provider adds the domain part automatically. When in doubt, use a tool like dig or MXToolbox to verify the actual record that got published.
DMARC: Tying It All Together
Domain-based Message Authentication, Reporting, and Conformance (DMARC) builds on SPF and DKIM. It answers two questions:
- What should receivers do when SPF and DKIM fail?
- How can I find out when someone is spoofing my domain?
A DMARC record looks like this:
_dmarc.example.com TXT "v=DMARC1; p=reject; rua=mailto:dmarc@example.com"The p= part is your policy:
p=none- Don't do anything special, just send me reports (monitoring mode)p=quarantine- Mark failures as spamp=reject- Reject failures outright
The rua= part tells receivers where to send aggregate reports. These reports show you who's sending email as your domain - both legitimate services you might have forgotten about and attackers trying to spoof you.
The Alignment Gotcha
Here's where DMARC gets tricky. It's not enough for SPF or DKIM to pass - they need to align with the From header domain.
Say your From header shows user@example.com, but your DKIM signature is for sendgrid.net. DKIM technically passes, but DMARC fails because the domains don't match.
The fix: configure your sending service to sign with your domain, not theirs. Most email services support this - you just need to set up the DNS records they provide.
Rolling Out DMARC Safely
Don't jump straight to p=reject. Here's a safer approach:
- Start with
p=noneand monitor reports for a few weeks - Move to
p=quarantine; pct=25(only apply to 25% of traffic) - Gradually increase
pctto 100 - Finally, switch to
p=rejectonce you're confident
This way, you catch any legitimate senders you forgot about before they start bouncing.
Testing Your Setup
There are plenty of tools to check your records:
- MXToolbox - Validates SPF syntax and lookup count
- Mail-tester.com - Send a test email, get a deliverability score
- DMARC Inspector - Checks your DMARC record
These work great for manual checks. But if you're building an application that connects to multiple email accounts, you may want to automate it.
EmailEngine has a delivery test API that does exactly this. First, trigger a test for any connected account:
curl -X POST "http://localhost:3000/v1/delivery-test/account/my-account" \
  -H "Authorization: Bearer YOUR_TOKEN"
This sends a test email and returns a test ID:
{
  "deliveryTest": "6420a6ad-7f82-4e4f-8112-82a9dad1f34d"
}
Then poll for results (the email needs a few seconds to be delivered and analysed):
curl "http://localhost:3000/v1/delivery-test/check/6420a6ad-7f82-4e4f-8112-82a9dad1f34d" \
  -H "Authorization: Bearer YOUR_TOKEN"
{
"dkim": { "status": "pass", "domain": "example.com" },
"spf": { "status": "pass", "domain": "example.com" },
"dmarc": { "status": "pass", "policy": "reject" }
}It works with IMAP/SMTP accounts, Gmail API, and Microsoft Graph - sends a real email through the actual delivery path and reports back what passed or failed. Useful for catching misconfigurations before your users start complaining about spam folders.
Under the hood, EmailEngine uses mailauth, an open source library for email authentication. If you just need a quick CLI check without setting up EmailEngine, you can use mailauth directly:
# Install globally
npm install -g mailauth

# Check authentication on an email file
mailauth report /path/to/message.eml

# Or check SPF for a specific sender/IP
mailauth spf -f user@example.com -i 192.0.2.1
It validates SPF, DKIM, DMARC, ARC, and even BIMI records.
Email authentication isn't glamorous, but it's the difference between the inbox and the spam folder. Take the time to get it right.